

Image Blur Tool
Drag & Drop Image Here
Click to Select Image
Processing image...
What is Image Blur Tool?
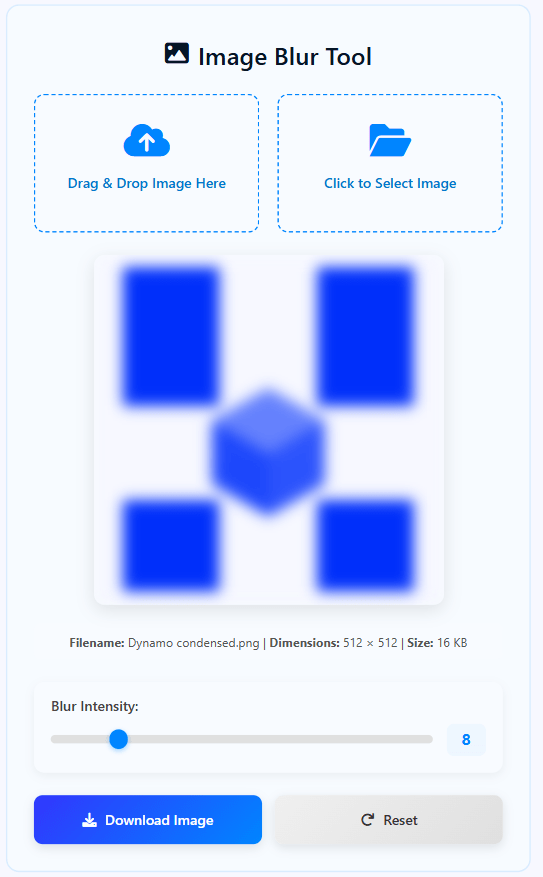
The Image Blur Tool is a sophisticated, web-based image processing application designed to apply professional-grade blur effects to images with precise control and real-time visualization. This advanced utility leverages modern browser capabilities to provide Gaussian-style blur effects that can be adjusted from subtle softening to complete abstraction, all processed locally in your browser for maximum privacy and performance.
Unlike basic image editors, our tool offers real-time blur intensity control with a dynamic range of 0-50 pixels, allowing for everything from delicate edge softening to complete artistic abstraction. The application uses HTML5 Canvas and advanced rendering techniques to provide smooth, interactive blur adjustment with immediate visual feedback.
This tool is essential for photographers, graphic designers, web developers, content creators, and privacy-conscious users who need to blur images for artistic effects, privacy protection, background softening, or creative composition. Whether you're blurring sensitive information, creating depth-of-field effects, softening backgrounds, or adding artistic touches to your images, our tool provides the precise control you need for professional results.
With its client-side processing, real-time preview, drag-and-drop interface, and privacy-focused design, the Image Blur Tool streamlines your image editing workflow while ensuring your images never leave your device, providing both professional results and complete data security.
How to Use Our Image Blur Tool
Upload Your Image
Use the drag-and-drop area to drag an image directly into the browser, or click the "Select Image" button to browse for an image file. The tool supports all common image formats including JPG, PNG, WebP, BMP, and GIF. Your uploaded image will display immediately with original clarity.
Adjust Blur Intensity
Use the blur intensity slider to control the amount of blur applied to your image. The range is 0-50 pixels, with 0 showing the original image and 50 applying maximum blur. Adjustments happen in real-time, allowing you to see exactly how each setting affects your image before finalizing.
Preview and Fine-Tune
View the blurred result in the preview area. The tool displays image information including original dimensions and file size. Adjust the slider back and forth to find the perfect blur level for your needs - whether for subtle background softening or complete privacy protection.
Download or Reset
Once satisfied with the blur effect, click "Download Image" to save the blurred version to your device. The downloaded file is in PNG format for maximum quality. Use the "Reset" button to return to the original image if needed, or to start over with different blur settings.
Advanced Features Explained
Image Blurring Best Practices
- For portrait photography, use subtle blur (5-15 pixels) to soften backgrounds without losing subject focus
- For privacy protection, apply strong blur (30-50 pixels) to completely obscure sensitive information
- When blurring text or faces, ensure the blur is sufficient to prevent recognition but maintains natural appearance
- For artistic effects, experiment with different blur levels to achieve desired mood and focus
- Always keep original unblurred versions for future editing or different applications
- Consider combining blur with other edits like brightness/contrast adjustment for optimal results
- For web use, optimize file size after blurring since blur can increase PNG file sizes
Frequently Asked Questions
The tool applies a Gaussian blur, which is the industry standard for image softening. Technically: Algorithm - Uses HTML5 Canvas filter: blur() property which implements Gaussian blur; How it works - Each pixel's color is averaged with surrounding pixels within the blur radius; Mathematical basis - Applies Gaussian function (bell curve) to weight neighboring pixel influence; Visual effect - Creates smooth, natural-looking blur without harsh edges; Quality - Browser-optimized implementation provides professional results. Compared to other blur types: Gaussian - Smooth, natural (used here); Box blur - Faster but less smooth; Motion blur - Directional, simulates movement. Our tool's Gaussian blur is ideal for most photographic and privacy applications.
Recommended blur levels by use case: Subtle background softening - 5-10px (creates shallow depth of field); Privacy protection (faces) - 15-25px (obscures identity while maintaining context); Privacy protection (text/sensitive info) - 25-50px (completely unreadable); Artistic abstraction - 20-40px (painterly effect, loss of detail); Minor imperfection hiding - 3-8px (softens blemishes, dust spots); Dreamy/ethereal effects - 10-20px (romantic, soft-focus look); Background for text overlay - 15-30px (improves text readability). Key considerations: Image size matters - Higher resolution images need more blur for same effect; Viewing distance - Images viewed up close need less blur; Content type - Text needs more blur than faces for same obscurity. Use real-time preview to find the perfect level for your specific image.
Our current tool applies blur to the entire image uniformly. For selective blurring (also called "masked blurring" or "localized blur"): Pre-process in photo editor - Blur specific areas in software like Photoshop/GIMP first; Post-process approach - Use our tool for base blur, then edit in other software; Creative workarounds - Crop image to blur only needed portion, then recomposite. Professional selective blurring requires: Layer masks - Define which areas to blur; Feathering - Smooth transitions between blurred/unblurred areas; Multiple blur levels - Different intensities for different areas. Our tool focuses on high-quality uniform blur which works well for: Privacy protection; Background softening; Overall artistic effects; Simple edits. For complex selective blurring, dedicated photo editing software is recommended.
Blurring typically increases PNG file size but can decrease JPG file size. The effect depends on: Format - PNG (usually larger), JPG (usually smaller); Blur amount - More blur = more size change; Image content - Complex images affected differently than simple ones. Typical file size changes: PNG with heavy blur - 10-30% larger (more color variations); JPG with heavy blur - 20-40% smaller (easier to compress); PNG with light blur - Minimal change; JPG with light blur - 5-15% smaller. Our tool outputs PNG format for quality, so file size may increase. For web optimization: Blur with our tool to desired effect; Convert to JPG/WebP for smaller file size; Adjust compression as needed. Don't use blur specifically for file reduction - use proper compression tools instead.
No, blur is a destructive editing process and is not reversible. Important considerations: Permanent information loss - Blurring removes fine detail permanently; No "unblur" function - Once blurred and saved, original detail cannot be recovered; Always keep originals - Save unblurred versions separately; Non-destructive alternatives - Professional software can apply blur non-destructively (with layers). Our workflow recommendation: Keep original files in a separate folder; Use descriptive filenames like "portrait-blurred-15px.png"; Create multiple versions with different blur levels if unsure; Test before finalizing - Use our real-time preview extensively. For maximum flexibility: Edit copies, not originals; Use version control (v1, v2, etc.); Archive originals for future needs. Once you download blurred images, the blur effect is permanent.
Blurred images have numerous practical and creative applications: Privacy protection - Blur faces, license plates, personal information in photos; Background softening - Create depth-of-field effects for portrait and product photography; Artistic expression - Abstract photography, dreamy landscapes, creative compositions; Web design - Background images that don't distract from foreground content; Focus enhancement - Draw attention to specific elements by blurring surroundings; Imperfection hiding - Soften blemishes, dust, or minor flaws in images; Text readability - Blurred backgrounds behind text improve contrast and legibility; Social media - Artistic profile pictures, featured images with soft focus; Documentation - Share screenshots with sensitive information blurred; Mood creation - Romantic, mysterious, or ethereal visual effects. Our tool helps create professional blurred images for all these applications.
Limits are based on browser capabilities, not the tool itself. Practical guidelines: Browser memory - Large images consume significant RAM; Canvas size limits - Browsers restrict maximum canvas dimensions; Performance - Large images with heavy blur process slower. Recommended maximums: Input size - Under 10 megapixels (e.g., 3648×2736); Output preview - Automatically scaled to max 700×400 for performance; Mobile devices - Lower limits due to less RAM. If you encounter issues: Reduce image size before using the tool; Use desktop browser with more memory; Close other tabs to free memory; Apply less blur - Heavy blur on large images is computationally intensive. The tool handles typical photography (8-24 megapixels) well on modern computers but may struggle with extremely large images (50+ megapixels) or very heavy blur settings on slower devices.
Our current tool processes one image at a time for optimal user experience and quality control. For batch processing: Process sequentially - Blur and download each image individually; Use consistent settings - Note your blur level for uniform results; Consider batch software - For large volumes (50+ images), use dedicated tools; Browser limitations - Multiple large images may exceed memory limits. Workflow for multiple images: Create a template - Blur one image to perfect level; Note the settings - Write down blur radius value; Apply to all images - Use same slider position for consistency; Quality check samples - Verify first few results before processing all. For occasional batch needs, our single-image tool works well. For regular bulk processing, consider batch conversion software or scripting solutions that can apply blur to multiple images automatically.
Input formats (browser-dependent): Common formats - JPEG/JPG, PNG, WebP, BMP, GIF; Browser compatibility - Most modern browsers support these formats; Maximum file size - Limited by browser memory but typically handles files under 10MB well. Output format: Default - PNG (lossless, preserves quality); Quality - High-quality PNG output maintains visual integrity of blurred image; Transparency - Preserves alpha channel if present in original. PNG advantages for blurring: Lossless quality - No compression artifacts interfering with blur effect; Smooth gradients - Essential for natural-looking blur transitions; Wide compatibility - Works across all platforms and software. If you need specific formats: Blur with our tool to get correct effect; Convert to target format using image editing software; Adjust compression as needed for file size optimization.
No, all processing happens locally in your browser. This is a 100% client-side tool meaning: Images stay on your device - Never transmitted over the internet; No server involvement - Processing uses HTML5 Canvas API locally; Complete privacy - We cannot access or see your images; No internet required after page loads (works offline); No data storage on our servers. Technical implementation: FileReader API reads files locally; Canvas API processes pixels in browser; Blob URLs handle preview and download; No external libraries that might transmit data. Privacy benefits: Secure for sensitive images (perfect for blurring private photos); No bandwidth usage for upload/download; Immediate processing without network delay. Your images remain completely private throughout the entire blurring process - ideal for the very privacy protection that blurring often provides!